

Apache Guacamole gives you browser-based remote desktop access to your servers without installing any client software. RDP, VNC, SSH, Telnet, even Kubernetes pods, all accessible through a web browser. For anyone managing a fleet of Linux (or Windows) machines, it removes the need to juggle dedicated RDP/VNC clients and lets you connect from any device with a browser.
Version 1.6.0 is the latest stable release, and this guide walks through building it from source on Debian 13 (Trixie) and Debian 12 (Bookworm). The setup uses MariaDB for authentication storage and Nginx as a reverse proxy with SSL. One thing to watch out for: both releases get Tomcat 10 here (Debian 12 no longer ships a tomcat9 package), and Tomcat 10 uses the Jakarta namespace instead of javax. That means the Guacamole WAR file and JDBC extension both need conversion before they’ll work. RDP works on both releases: the guacd build with FreeRDP 3 (rebuilt November 2026 on Debian 13.7) logged in to an RDP host and streamed the desktop, so Windows machines are covered too.
Prerequisites
Before starting, confirm you have:
- A Debian 13 or Debian 12 server with root or sudo access
- A domain or subdomain pointed to your server’s IP (for SSL)
- Tested on: Debian 13.4 (Trixie), Guacamole 1.6.0, Tomcat 10.1.52, MariaDB 11.8.6
- At least 2 GB RAM and 10 GB free disk space
- Ports 443 (HTTPS) and 22 (SSH) open in your firewall
If you need MariaDB installed separately or want a deeper dive on tuning it, see Install MariaDB on Debian.
Install Build Dependencies
Guacamole server (guacd) compiles from C source, so you need development libraries for every protocol you want to support. Install everything in one shot:
sudo apt-get update
sudo apt-get install -y build-essential make gcc libcairo2-dev libjpeg62-turbo-dev libpng-dev libtool-bin uuid-dev libossp-uuid-dev libvncserver-dev libssh2-1-dev libssl-dev libtelnet-dev libpango1.0-dev libwebsockets-dev libavcodec-dev libavformat-dev libavutil-dev libswscale-dev libvorbis-dev libwebp-dev libpulse-dev tomcat10 mariadb-server nginx certbot wget curl
This pulls in libraries for VNC, SSH, Telnet, Kubernetes, audio, and video encoding. It also installs Tomcat 10, MariaDB, and Nginx so they’re ready when we need them.
RDP needs the FreeRDP headers, and the package name differs by release. Skip it and configure silently builds guacd without RDP, which is why Windows connections later fail with no obvious error. On Debian 13, which ships FreeRDP 3:
sudo apt-get install -y freerdp3-devOn Debian 12, install the FreeRDP 2 headers instead:
sudo apt-get install -y freerdp2-devInstall only the line that matches your release. The configure step below detects whichever FreeRDP headers are present.
Build and Install guacamole-server
Detect the latest stable Guacamole release and download the source tarball:
VER=$(curl -s https://api.github.com/repos/apache/guacamole-server/tags | grep '"name"' | grep -v 'RC\|alpha\|beta' | head -1 | cut -d'"' -f4)
echo "Guacamole version: $VER"
Download and extract the source:
wget https://downloads.apache.org/guacamole/${VER}/source/guacamole-server-${VER}.tar.gz
tar xzf guacamole-server-${VER}.tar.gz
cd guacamole-server-${VER}
Run configure with systemd integration enabled. guacamole-server compiles with -Werror. The FreeRDP 3.6+ headers on Debian 13 trip a deprecation warning every time they are included, so the RDP plugin dies on that warning unless it stays a warning. The extra CFLAGS do exactly that, keep the default -g -O2, and are harmless on Debian 12:
./configure --with-systemd-dir=/etc/systemd/system/ CFLAGS="-g -O2 -Wno-error=deprecated-declarations"At the end of the configure output, check the protocol support summary. Every protocol should read yes on both releases:
   Kubernetes .... yes
   RDP ........... yes
   SSH ........... yes
   Telnet ........ yes
   VNC ........... yes
An RDP line reading no means the FreeRDP headers are missing, so install them before going further. Now build and install:
make -j$(nproc)
sudo make install
sudo ldconfig
The ldconfig step is easy to forget. Without it, guacd won’t find its shared libraries at runtime.
The guacd unit runs as the daemon user, whose home directory is /usr/sbin. FreeRDP keeps its settings under ~/.config/freerdp, and when it can’t create that directory, RDP connections fail with “Security negotiation failed” (reproduced on Debian 12). Give guacd a writable home before starting it:
sudo install -d -o daemon -g daemon /var/lib/guacd
sudo mkdir -p /etc/systemd/system/guacd.service.d
printf '[Service]\nEnvironment=HOME=/var/lib/guacd\n' | sudo tee /etc/systemd/system/guacd.service.d/home.conf
Start and enable guacd:
sudo systemctl daemon-reload
sudo systemctl enable --now guacd
Verify the service is running:
sudo systemctl status guacdThe output should show active (running) with guacd listening on port 4822.
Install Tomcat and Deploy guacamole.war
Tomcat was already installed with the dependencies above. Create the Guacamole configuration directories first:
sudo mkdir -p /etc/guacamole/{extensions,lib}Download the pre-built WAR file:
sudo wget https://downloads.apache.org/guacamole/${VER}/binary/guacamole-${VER}.war -O /var/lib/tomcat10/webapps/guacamole.warDon’t restart Tomcat yet. The WAR as downloaded targets the older javax namespace, so it gets converted first.
Convert javax to Jakarta (Required)
This is the step that catches most people off guard. The Guacamole 1.6.0 WAR is built for the javax namespace (Tomcat 9), but the Tomcat 10 installed here on both releases uses the jakarta namespace. If you skip this conversion, you’ll get a blank page or 404 errors when trying to access Guacamole.
sudo apt-get install -y tomcat-jakartaee-migrationConvert the WAR file:
sudo javax2jakarta /var/lib/tomcat10/webapps/guacamole.war /var/lib/tomcat10/webapps/guacamole-jakarta.war
sudo rm -rf /var/lib/tomcat10/webapps/guacamole /var/lib/tomcat10/webapps/guacamole.war
sudo mv /var/lib/tomcat10/webapps/guacamole-jakarta.war /var/lib/tomcat10/webapps/guacamole.war
Debian 12 users: run this conversion too. Bookworm only ships Tomcat 10, so the unconverted WAR fails there the same way.
Restart Tomcat to deploy the application:
sudo systemctl restart tomcat10Tomcat unpacks the archive on startup, and /var/lib/tomcat10/webapps/guacamole/ appears once it has.
Configure MariaDB Database
Guacamole stores user accounts, connections, and session history in a database. Create the database and a dedicated user:
sudo mariadb -e "
CREATE DATABASE guacamole_db CHARACTER SET utf8mb4;
CREATE USER 'guacamole_user'@'localhost' IDENTIFIED BY 'YourStr0ngP@ss!';
GRANT SELECT,INSERT,UPDATE,DELETE ON guacamole_db.* TO 'guacamole_user'@'localhost';
FLUSH PRIVILEGES;"
Now download and install the JDBC authentication extension:
cd /tmp
wget https://downloads.apache.org/guacamole/${VER}/binary/guacamole-auth-jdbc-${VER}.tar.gz
tar xzf guacamole-auth-jdbc-${VER}.tar.gz
Import the database schema. The SQL files must be loaded in order:
cat guacamole-auth-jdbc-${VER}/mysql/schema/*.sql | sudo mariadb guacamole_dbCopy the JDBC extension JAR to the Guacamole extensions directory:
sudo cp guacamole-auth-jdbc-${VER}/mysql/guacamole-auth-jdbc-mysql-${VER}.jar /etc/guacamole/extensions/On both releases, the JDBC extension JAR also needs javax-to-jakarta conversion, just like the WAR file:
sudo javax2jakarta /etc/guacamole/extensions/guacamole-auth-jdbc-mysql-${VER}.jar /etc/guacamole/extensions/guacamole-auth-jdbc-mysql-${VER}-jakarta.jar
sudo mv /etc/guacamole/extensions/guacamole-auth-jdbc-mysql-${VER}-jakarta.jar /etc/guacamole/extensions/guacamole-auth-jdbc-mysql-${VER}.jar
Next, install the MySQL Connector/J so Guacamole can talk to MariaDB. Detect the latest version and download:
cd /tmp
JDBC_VER=$(curl -s https://api.github.com/repos/mysql/mysql-connector-j/tags | grep '"name"' | head -1 | cut -d'"' -f4)
echo "MySQL Connector/J version: $JDBC_VER"
wget https://dev.mysql.com/get/Downloads/Connector-J/mysql-connector-j-${JDBC_VER}.tar.gz
tar xzf mysql-connector-j-${JDBC_VER}.tar.gz
sudo cp mysql-connector-j-${JDBC_VER}/mysql-connector-j-${JDBC_VER}.jar /etc/guacamole/lib/
Guacamole loads the driver from /etc/guacamole/lib alongside its extensions, so nothing goes into Tomcat’s own lib directory.
Configure guacamole.properties
Create the main configuration file that tells Guacamole how to connect to guacd and the database. Replace the password with something strong for production use:
echo "guacd-hostname: localhost
guacd-port: 4822
mysql-hostname: localhost
mysql-port: 3306
mysql-database: guacamole_db
mysql-username: guacamole_user
mysql-password: YourStr0ngP@ss!
mysql-auto-create-accounts: true" | sudo tee /etc/guacamole/guacamole.properties
Link the configuration so Tomcat can find it:
sudo ln -sf /etc/guacamole /var/lib/tomcat10/.guacamoleRestart both services to pick up the new configuration:
sudo systemctl restart tomcat10 guacdBoth services should come back without errors, with Tomcat now reading the properties file through the .guacamole link.
Set Up Nginx Reverse Proxy with SSL
Tomcat listens on port 8080 by default. Nginx sits in front of it, handles SSL termination, and proxies WebSocket connections that Guacamole relies on for real-time remote desktop sessions.
First, obtain an SSL certificate with Let’s Encrypt. Replace guac.yourdomain.com with your actual domain:
sudo certbot certonly --standalone -d guac.yourdomain.com --non-interactive --agree-tos -m [email protected]Create the Nginx virtual host configuration:
sudo vi /etc/nginx/sites-available/guacamoleAdd the following server block:
server {
    listen 443 ssl http2;
    server_name guac.yourdomain.com;

    ssl_certificate /etc/letsencrypt/live/guac.yourdomain.com/fullchain.pem;
    ssl_certificate_key /etc/letsencrypt/live/guac.yourdomain.com/privkey.pem;
    ssl_protocols TLSv1.2 TLSv1.3;

    location / {
        proxy_pass http://localhost:8080/guacamole/;
        proxy_buffering off;
        proxy_http_version 1.1;
        proxy_set_header X-Forwarded-For $proxy_add_x_forwarded_for;
        proxy_set_header Upgrade $http_upgrade;
        proxy_set_header Connection $http_connection;
        proxy_set_header Host $host;
        proxy_cookie_path /guacamole/ /;
    }
}

server {
    listen 80;
    server_name guac.yourdomain.com;
    return 301 https://$host$request_uri;
}
The proxy_cookie_path directive rewrites cookies so they work at the root path instead of under /guacamole/. The WebSocket headers (Upgrade and Connection) are required for the remote desktop tunnel to function.
Enable the site and restart Nginx:
sudo ln -sf /etc/nginx/sites-available/guacamole /etc/nginx/sites-enabled/
sudo rm -f /etc/nginx/sites-enabled/default
sudo nginx -t
sudo systemctl restart nginx
Confirm Nginx started without errors:
sudo systemctl status nginxOpen port 443 in your firewall if it’s not already allowed. Verify certificate auto-renewal works:
sudo certbot renew --dry-runThe dry run talks to the Let’s Encrypt staging server, so it checks renewal without touching the live certificate.
Access the Web UI
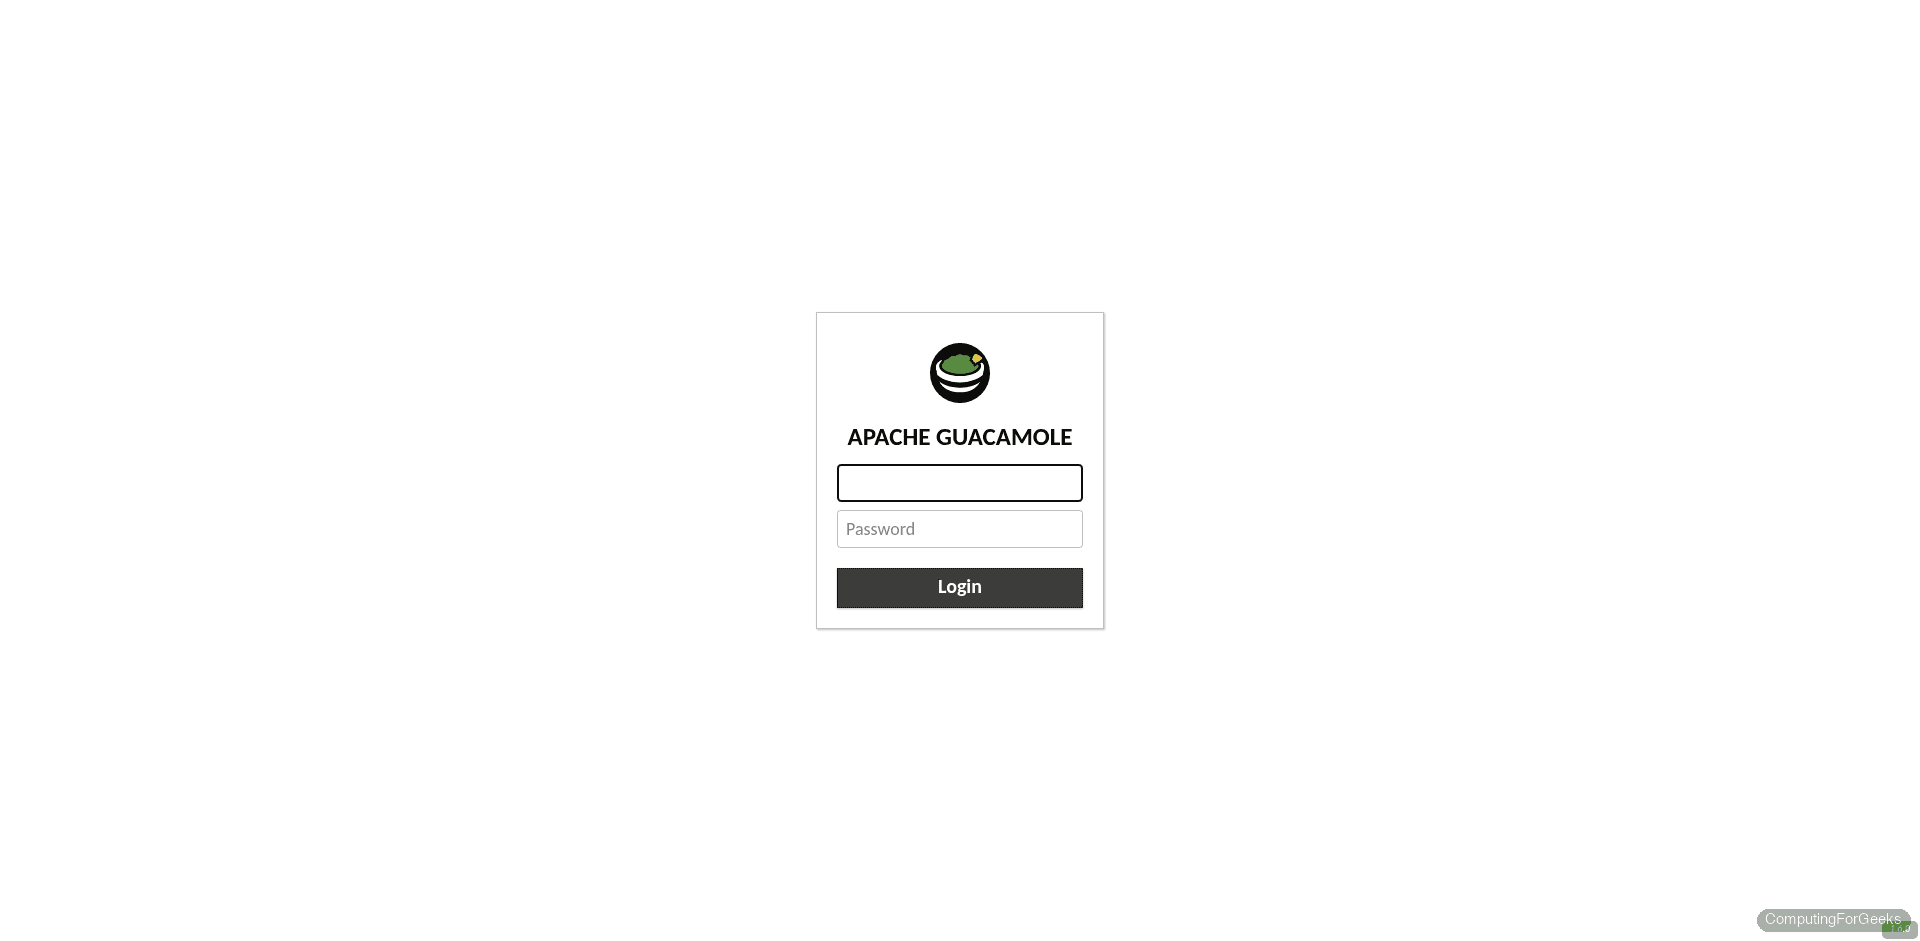
Open your browser and navigate to https://guac.yourdomain.com. You should see the Guacamole login page. The default credentials are guacadmin / guacadmin.
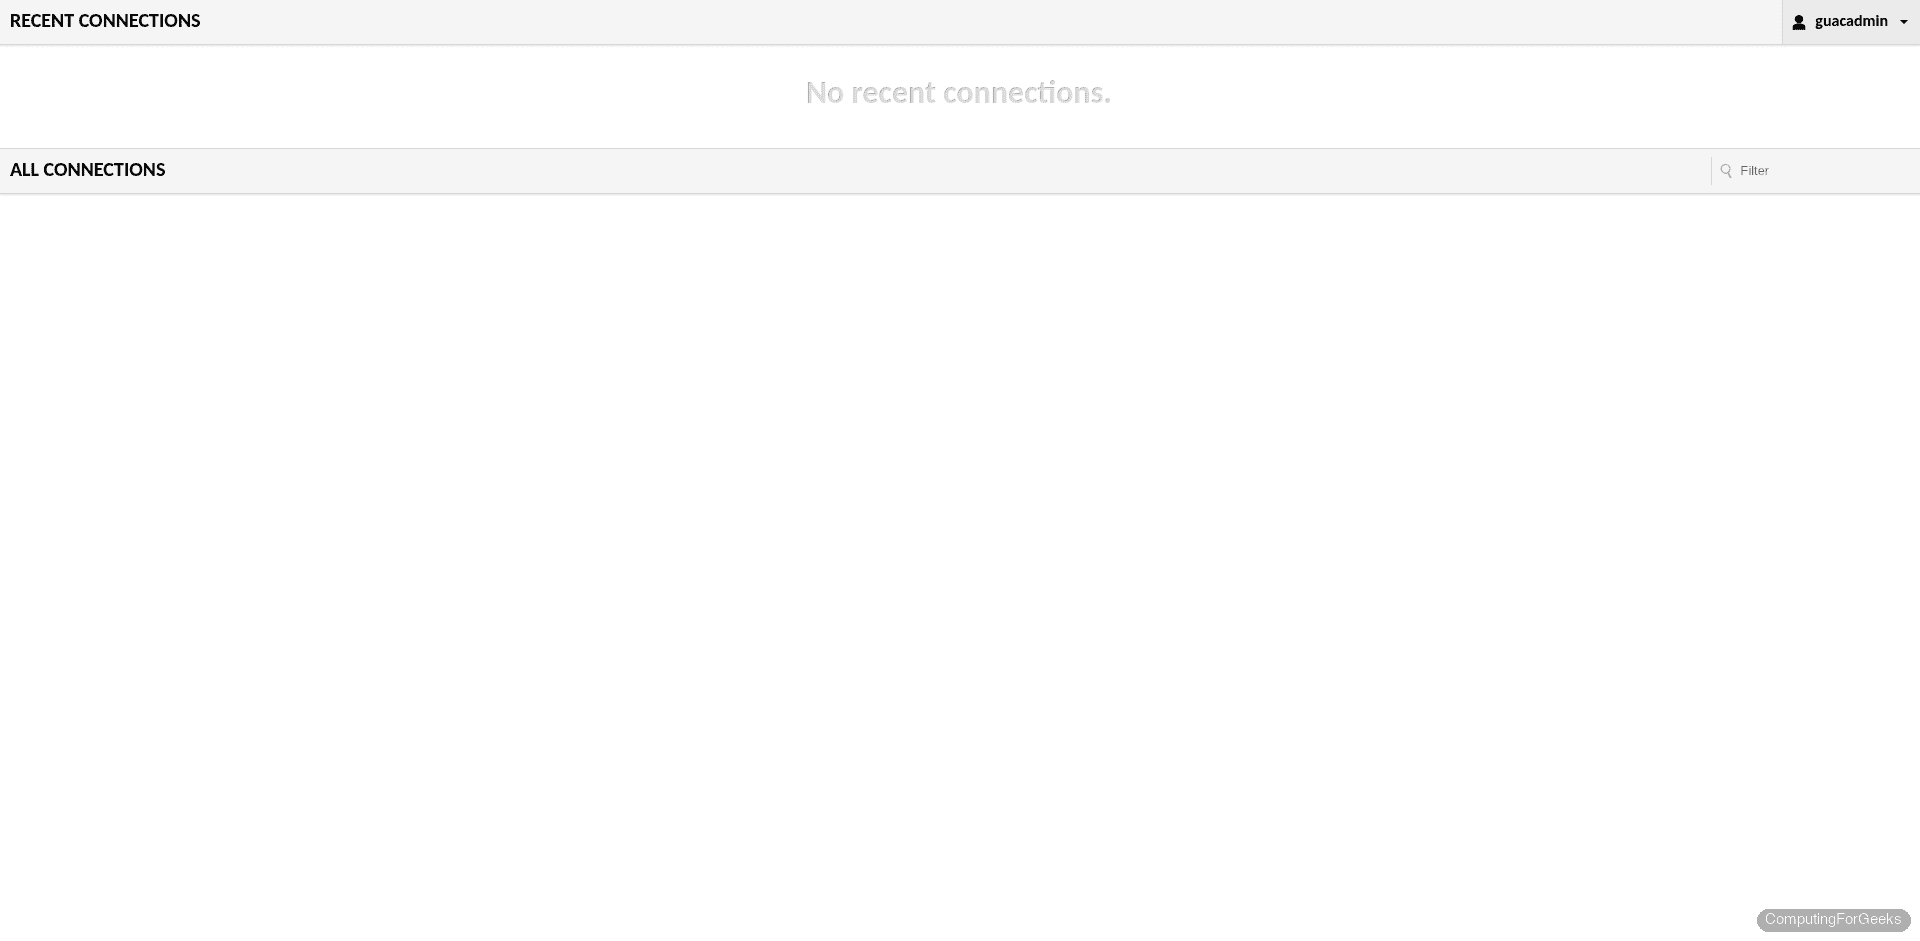
After logging in with the default credentials, the home dashboard appears. From here you can launch saved connections or navigate to the admin settings.
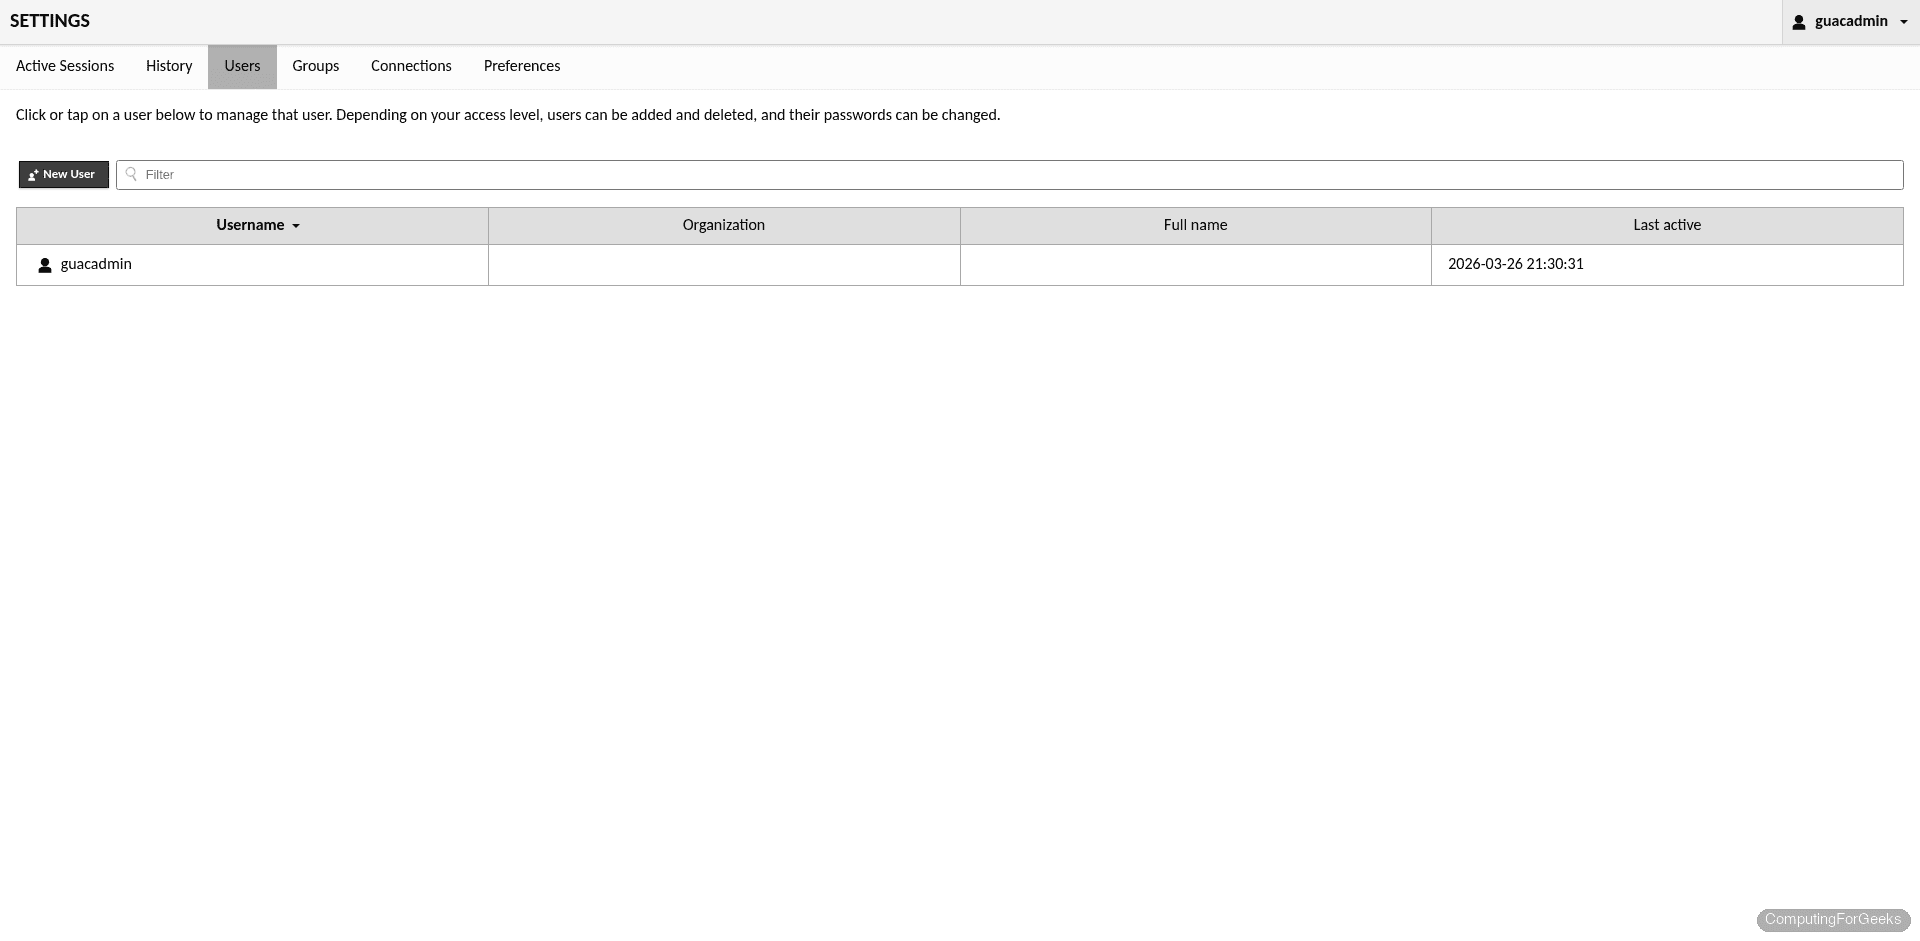
Change the default password immediately. Click your username in the top-right corner, select Settings, then update the password under Preferences.
Manage Users and Connections
Click Settings in the top-right menu to access the admin panel. The Connections tab is where you define remote servers. Each connection specifies a protocol (RDP, VNC, SSH, Telnet, or Kubernetes), the target hostname or IP, and authentication credentials.

The Users tab lets you create accounts with granular permissions. You can restrict users to specific connections, prevent them from creating new ones, or grant full admin rights. In production, create individual accounts for each team member and disable the default guacadmin account once you have a separate admin user set up.
To add a new connection, click “New Connection” in the Connections tab, select the protocol, enter the target server’s IP and port, and provide the credentials. For VNC, that’s typically port 5901. For SSH, port 22. For a Windows machine, pick RDP on port 3389 and fill in the Windows username and password, since Windows defaults to Network Level Authentication and checks them before the desktop opens. Also tick “Ignore server certificate”, because Windows uses a self-signed certificate by default.
Troubleshooting
Blank page or 404 after deploying the WAR
If you see a blank page, a 404, or Tomcat’s default “application not available” message, the most likely cause is the javax/jakarta namespace mismatch. Tomcat 10, which this guide installs on both Debian 13 and Debian 12, requires the jakarta namespace. The Guacamole 1.6.0 WAR is built for javax (Tomcat 9).
Check the Tomcat logs for confirmation:
sudo tail -50 /var/log/tomcat10/catalina.outIf you see errors referencing javax.servlet classes not found, you need to convert both the WAR file and the JDBC extension JAR using javax2jakarta. Scroll back to the “Convert javax to Jakarta” section and run those commands. Both the WAR and the JDBC JAR must be converted, not just one.
RDP build fails with “‘codecs_free’ is deprecated” on Debian 13
Running make without the extra CFLAGS on Debian 13 stops in the RDP plugin with a wall of lines like this (on amd64 the path reads x86_64-linux-gnu):
/usr/lib/aarch64-linux-gnu/pkgconfig/../../../include/freerdp3/freerdp/codecs.h:93:9: error: 'codecs_free' is deprecated: [since 3.6.0] Use freerdp_client_codecs_free [-Werror=deprecated-declarations]
cc1: all warnings being treated as errors
Guacamole 1.6.0 supports FreeRDP 3, but the FreeRDP 3.15 headers reference a function deprecated since 3.6, and -Werror turns that warning into a failed build. Add the guacd home drop-in from the build section first if you haven’t yet. Then, from the extracted guacamole-server-${VER} directory, re-run configure with the flag from the build section and compile again from a clean tree. The last three lines enable the service, since a failed first build never got that far:
make clean
./configure --with-systemd-dir=/etc/systemd/system/ CFLAGS="-g -O2 -Wno-error=deprecated-declarations"
make -j$(nproc)
sudo make install
sudo ldconfig
sudo systemctl daemon-reload
sudo systemctl enable guacd
sudo systemctl restart guacd
The same recovery applies if you built guacd earlier without freerdp3-dev and RDP connections fail: install the package first, then run the commands above. ls /usr/local/lib/libguac-client-rdp.so confirms the RDP plugin is in place.
RDP connection fails with “Security negotiation failed”
Follow the guacd log while you retry the connection. A line reading error creating directory '/usr/sbin/.config/freerdp' means guacd has no writable home, so add the home.conf drop-in from the build section, then run sudo systemctl daemon-reload and sudo systemctl restart guacd. Any other reason FreeRDP gives shows up in the same log:
sudo journalctl -u guacd -fPress Ctrl+C to stop following the log once the failing attempt has been captured.
guacd fails to start
The most common cause is a missing ldconfig after installation. Run it and restart:
sudo ldconfig
sudo systemctl restart guacd
sudo systemctl status guacd
If guacd still fails, check the logs for missing library errors:
journalctl -u guacd --no-pager -n 30A missing libguac library in that output means ldconfig did not pick up /usr/local/lib, while a bind error on port 4822 means another guacd instance is already running.
Going Further
With Guacamole running and accessible over HTTPS, here are some next steps to harden and extend the setup:
- Two-factor authentication: Guacamole supports TOTP natively. Install the
guacamole-auth-totpextension and drop it into/etc/guacamole/extensions/(convert it withjavax2jakartafirst) - LDAP/Active Directory: for larger teams, integrate with your existing directory service using the
guacamole-auth-ldapextension - Session recording: Guacamole can record sessions to video files for audit trails. Enable it per-connection in the settings
- Connection groups: organize connections into folders by environment (production, staging, development) or by team
- Proxmox integration: if you’re running Proxmox VE (see our Proxmox on Debian guide), point Guacamole connections at your VM console ports for unified access
The official Guacamole documentation covers these extensions and more advanced configurations in detail.


Hi,
i installed it server times but each time with I called in the browser http://my IP:8080/guacamole it tells me the resource can not be found.
but its in …/webapps/guacamole
I tried the tomcate server with …/examples and it works
when I copy it eg. to the examples directory and call it with the browser , I get at least the facicon but the page is emply.
maybe somethnig is wrong for tomcat to find this resource
Hey there! Thanks for this write up. I’ve followed your tutorial and I am not able to access the web client via http://myip/:8080… I’ve run through all the checks I can think of and configured the guacd and tomcat. My server shows that both the guacd and tomcat services are running. Any tips to find out where I may have messed up? FYI I installed this on an Azure VM running Debian 11 & connected to it via WSL debian app on my pc.
Thx!
Hello I followed your tutorial to install Guacamole on a debian VM server hosted on Azure. I am having issues where i cannot connect to the web client via http://ipaddress:8080. The port is open in settings for the vm on azure, and i have checked that tomcat and guacd are both running successfully. Any advice on what to look for to see where I may have made a mistake?
Thanks for the article!
Please share the output of
ss -tunelp|grep 8080the output is: tcp LISTEN 0 100 *:8080 *:* uid:1001 ino:111160 sk:6 cgroup:/system.slice/tomcat.service v6only:0
This will make it work:
sudo echo “GUACAMOLE_HOME=/etc/guacamole” | sudo tee -a /etc/default/tomcat9
sudo mariadb -e ”
CREATE DATABASE guacamole_db CHARACTER SET utf8mb4;
CREATE USER ‘guacamole_user’@’localhost’ IDENTIFIED BY ‘YourStr0ngP@ss!’;
GRANT SELECT,INSERT,UPDATE,DELETE ON guacamole_db.* TO ‘guacamole_user’@’localhost’;
FLUSH PRIVILEGES;”
does this really work on Debian 13.
I’m getting permissions denied issues not being able to access mariadb
Tested that exact block on a fresh Debian 13.4 with MariaDB 11.8.6 and it creates the database and user without issue. The leading sudo is the key: the mariadb client with no -u uses your current shell username as the login, so without sudo it tries to connect as yourname@localhost, which has no account, and you get ERROR 1698 Access denied. With sudo it connects as root@localhost, which on a fresh install has no password set. If you ran mariadb-secure-installation and gave root a password, that block needs sudo mariadb -u root -p instead, then type the password.
I had no root password so I reinstalled MariaDB
I then ran the mariadb-secure-installation process which aalowed me to set the root password. I was then able to use the -p parameter
This ran the script perfectly
Thanks for you fast response
Hi,
i wish to thank you for this very useful guide.
Following this, i was been able to run and install guacamole into my old bananapi M1 with deb 13.
For now i can access the administration panel but yet cannot connect the local machines (2 with linux and one with windows) but i’ll resolve (hopefully) soon.
Hope to find soon the time to troubleshoot this issue but for now i’m very happy that i reached this step and only thanks to your guide.
Regards, Massimo
The Windows machine is on us: the Debian 13 steps built guacd without RDP. The guide is now corrected, so from your guacamole-server-1.6.0 directory run:
sudo apt-get install -y freerdp3-dev
make clean
./configure –with-systemd-dir=/etc/systemd/system/ CFLAGS=”-g -O2 -Wno-error=deprecated-declarations”
make && sudo make install && sudo ldconfig
sudo systemctl restart guacd
Then add an RDP connection on port 3389 with the Windows username and password and tick “Ignore server certificate”. The two Linux machines need a VNC server running on them (or use SSH on port 22), and sudo journalctl -u guacd -f shows why any connection is refused.
Hi,
many thanks for your fast answer.
I recompiled the server with the guide upgrade and now can estabilish the rdp connection with the windows machine but cannot connect yet because journald says guacd : RDP server closed/refused connection (Server unracheable)
I’ll investigate on it.
For now i can connect the two linux pc (one with SSH and one with vnc)
The problem that was blocking the connection from the web interface was the line ::1 (ecc ecc) in /etc/hosts realtive to the ipv6 (my lan is ipv4 only).
Removing that line every trouble vanished and i am now able to connect the 2 machines.
Now i’m focusing on the windows machine but this is a minor problem for me.
Again, many many thanks for your effort on writing this guide.
Regards, Massimo