


When the Raspberry Pi Pico 2 came out, it didn’t take long for someone to figure out crazy uses for its RISC-V Hazard3 CPU cores. After all, folks figured out how to pull off amazing feats with the original Pico, like emulating the Macintosh 128K. The RISC-V CPU is more commonly used in application-class processors than microcontrollers, so one developer set to work installing Linux on the RISC-V cores. Here’s how he pulled it off.
While this project does get Linux running on the RISC-V cores of the RP2350 microcontroller, as you’ll read below, usability is quite limited at the time of writing.
You’ll need an alternative to the official Raspberry Pi Pico 2
The first hurdle developer Jesse Taube had to overcome was the memory requirement. For starters, the RP2350 microcontrollers lack a memory management unit (MMU), so Taube needed to use a Linux version that didn’t require an MMU.
Then there’s the issue of memory itself. Although Raspberry Pi significantly increased the SRAM on the RP2350 compared to the RP2040, it’s still not enough to run Linux. Fortunately, the RP2350 supports up to 16MB of pseudo-static RAM (PSRAM) and 16MB of off-chip flash storage.
This means you’ll need one of the alternatives to the official Raspberry Pi Pico 2, a microcontroller that expands on the memory available to the RP2350. One such development board is the SparkFun Pro Micro RP2350, which pairs the microcontroller with 16MB of flash memory and 8MB of PSRAM.
Another option that should work here includes the Pimoroni Pico Plus 2 W.
Building and installing Linux to your RP2350 RISC-V cores
In addition to your RP2350 microcontroller, you’ll need a few other software packages and libraries.
- A compatible version of gcc and cmake.
- The Raspberry Pi Pico C/C++ SDK.
- Any other packages or libraries required on your platform for the RISC-V build environment.
Once you have the RP2350 board you need and have set up your RISC-V build environment, you can follow these steps to install Linux on it.
- Clone the pi-pico2-linux GitHub repository to your computer following the given instructions.
-
Follow the directions on the GitHub repository to download the most current buildroot environment and compile everything.

-
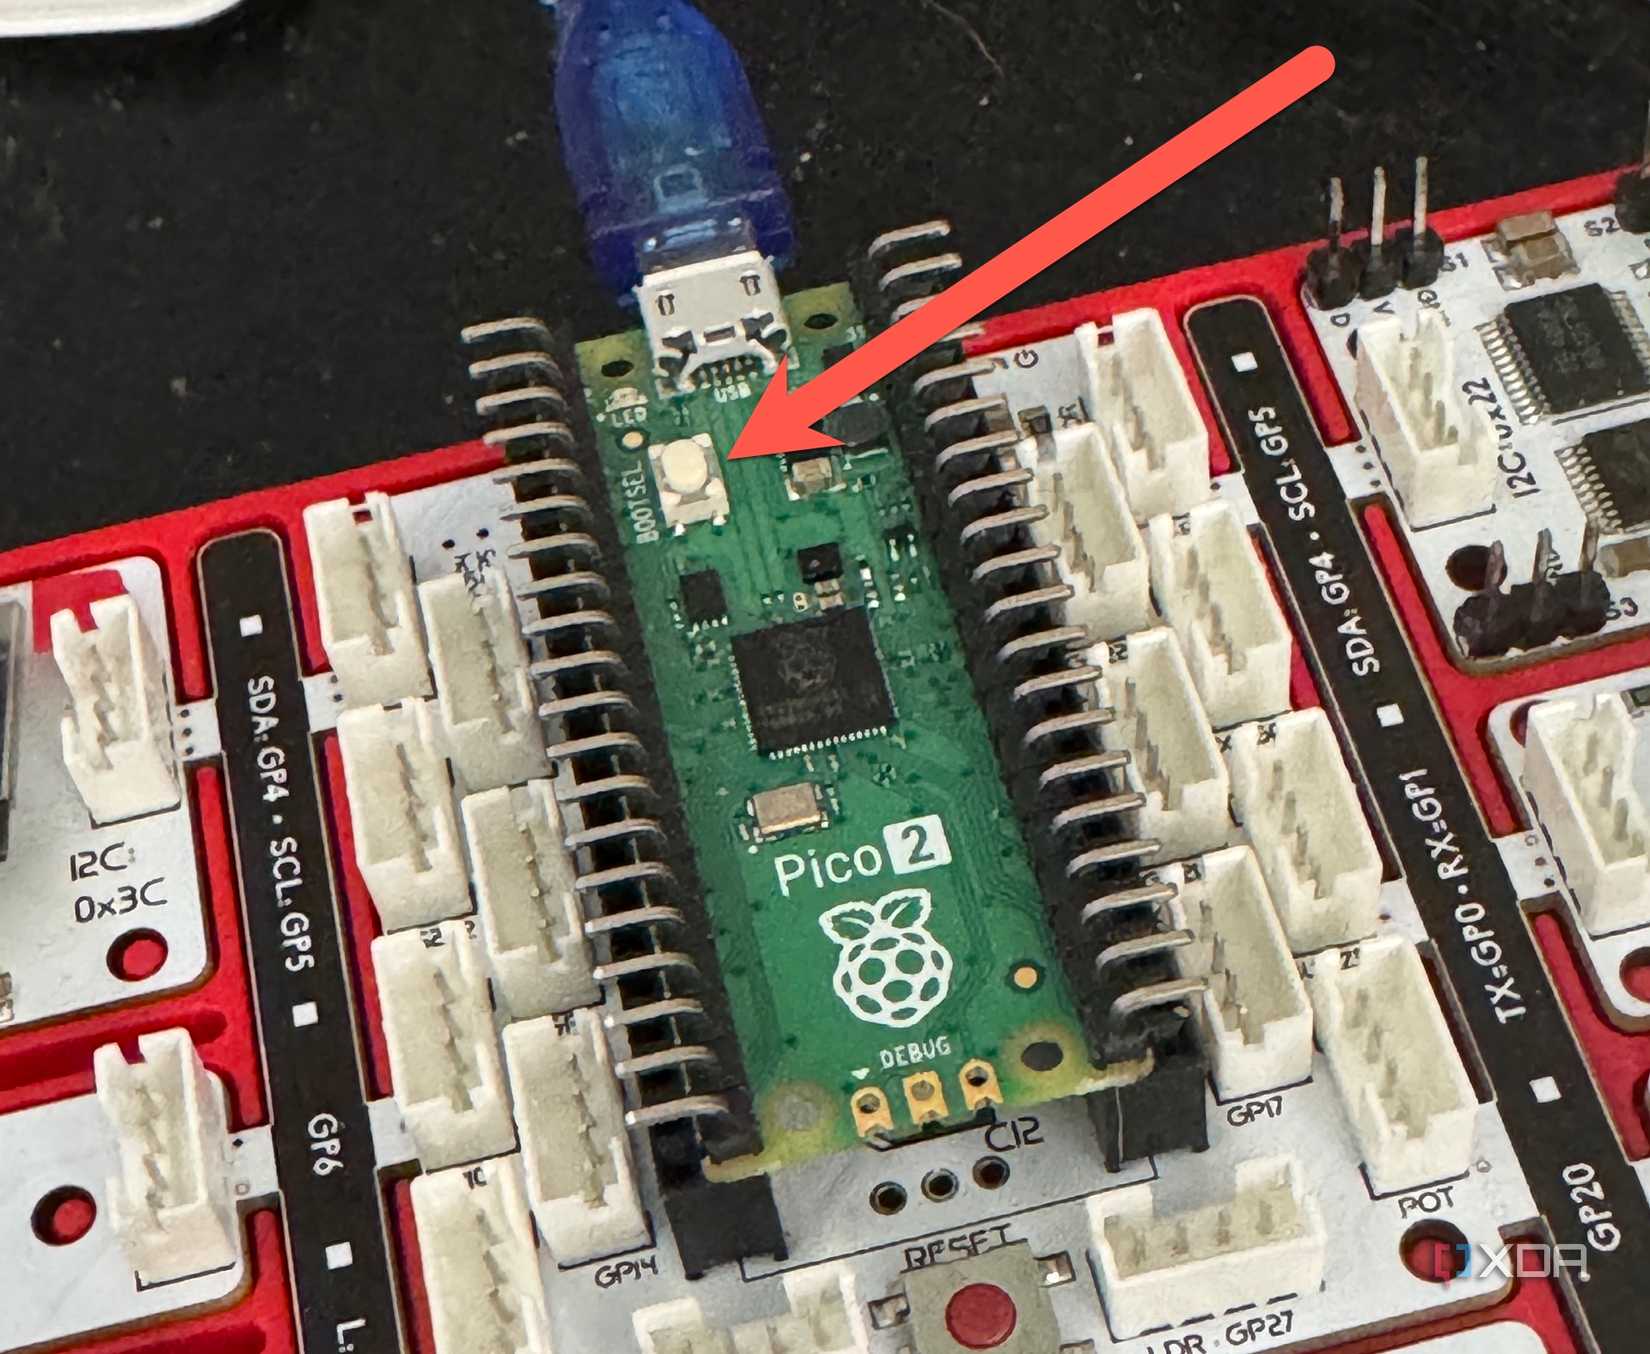
Press and hold the BOOTSEL button on your RP2350 microcontroller, if required, as you plug it into your computer.
- Run the final command to compile the psram-bootloader and flash Linux to the microcontroller.
- Unplug your microcontroller and then plug it back in.


If you have a shell open for your microcontroller, whether in Thonny, Visual Studio Code, or some other IDE, you’ll see Linux boot up on the RP2350.

As Taube points out, the project assumes the Raspberry Pi C/C++ SDK is installed in a specific location. If it isn’t installed in that location in your setup, you’ll need to change the following environment variables to reflect the correct location.
- PICO_SDK_PATH
- PICO_TOOLCHAIN_PATH
- pioasm_DIR
- picotool_DIR
Running Linux on the RISC-V cores of your RP2350 microcontroller
As you can see from the example above, Linux can boot on the RP2350’s RISC-V Hazard3 cores. However, there isn’t much you can do with it until some pretty irksome bugs are worked out.
The biggest one is with UART functionality. The current release will only allow entering a single character at a time, making it impossible to directly type commands in the shell. Taube and others have come up with workarounds, but each has its own drawbacks.
In time, the development community may overcome these faults and make Linux more functional on the RP2350 in RISC-V mode. In the meantime, it’s a sound proof of concept that will hopefully gain actual value and usefulness for future Pico projects.
