

In Figma, the Fill tool is like a paintbrush for your designs. You can use it to add colors or cool color blends to shapes, text, or anything else you're working on. It's super handy because you can choose colors from a palette or make fancy gradients. With this tool, you can make your designs look just the way you want them to.
- With the Figma Fill tool, you can easily colour in text, shapes, and even pictures with gradients.
- You can get creative by layering different colours or effects on top of each other to make your designs pop.
Why Use Fills in Figma?
The Fill tool in Figma is incredibly useful for adding colour or gradients to various elements within your design.
Here's why we use it:
- Customisation: Fills allow you to change the appearance of shapes, text, frames, and other design layers using colours, gradients, patterns, images, or videos.
- Visual Consistency: Fills can be reused through styles and variables to maintain consistent colours and visual styles across a design.
- Layered Effects: Multiple fills, opacity, and blend modes can be combined to create different visual effects.
How to Add a Fill in Figma?
Step 1: Select an Object
Select the shape, frame, text layer, or other object you want to add a fill to.
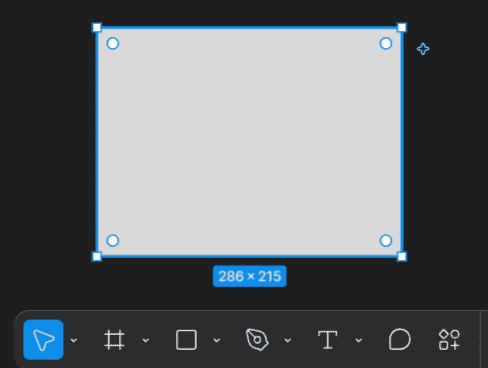
Step 2: Add a Fill
In the right sidebar, find the Fill section and click the + icon to add a fill. By default, Figma adds a solid fill. Click the fill swatch to open the color picker.
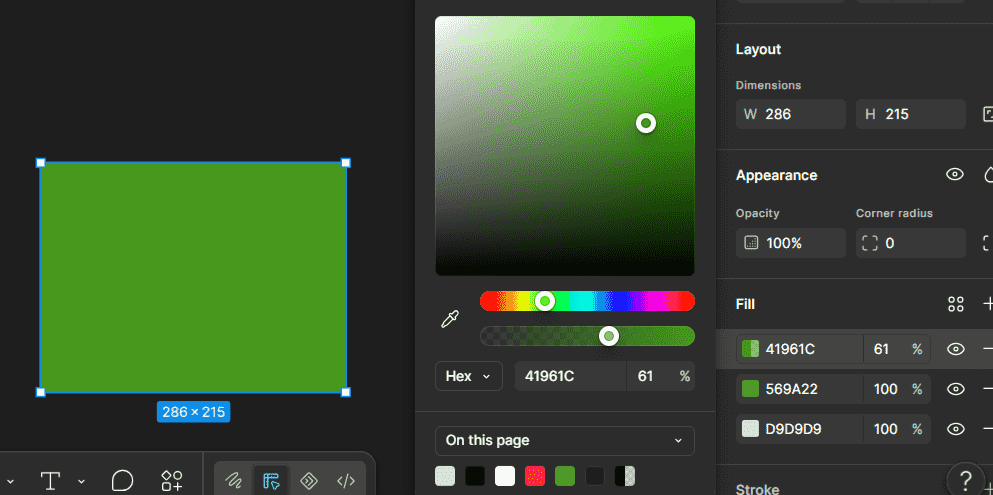
Step 3: Choose a Fill Type
Open the color picker and choose the type of fill you want to use. Figma supports Solid, Gradient, Pattern, Image, and Video fills.
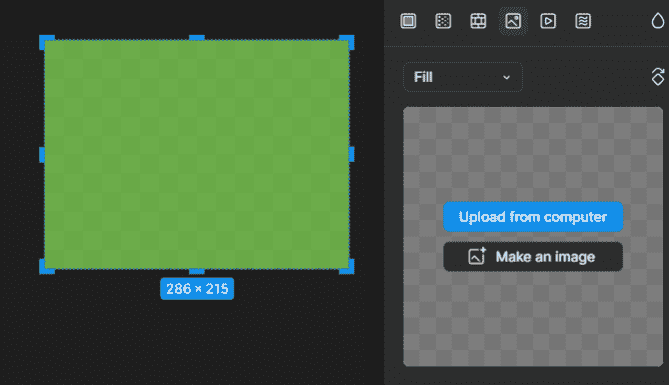
Step 4: Adjust the Fill
Use the color picker to choose a color or adjust properties such as opacity and blend mode. You can also use the eyedropper to sample a color from another layer on the canvas.
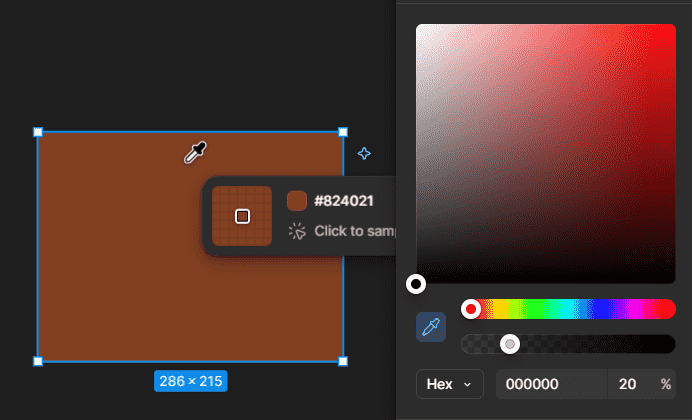
Types of Fills
1. Color Picker
The color picker lets you choose and adjust colors for fills. It also provides options for gradients, patterns, images, and videos. You can use the eyedropper to sample colors from the canvas and adjust properties such as hue and opacity.
2. Solid Fill
The Solid fill type is a straightforward and commonly used option for applying a single, uniform color to shapes, text layers, or any other design elements. Fill shapes or objects with a single solid color.
3. Gradient Fill
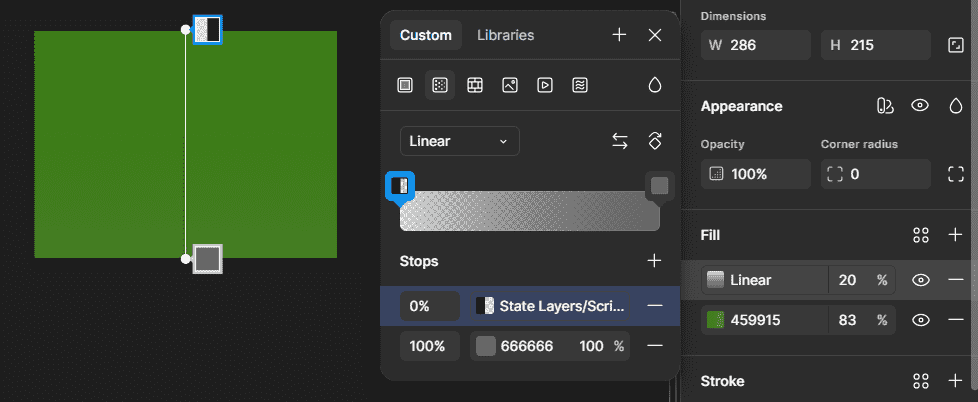
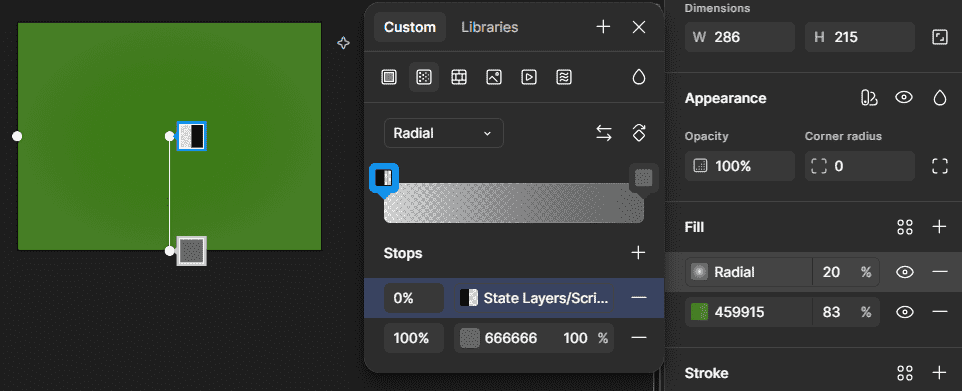
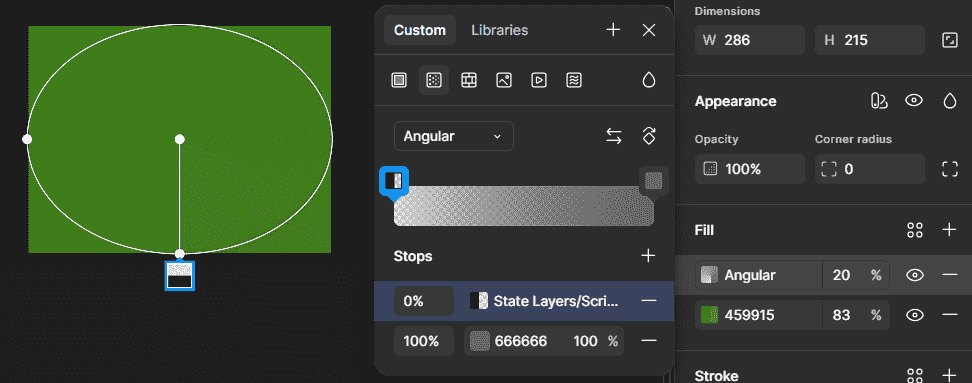
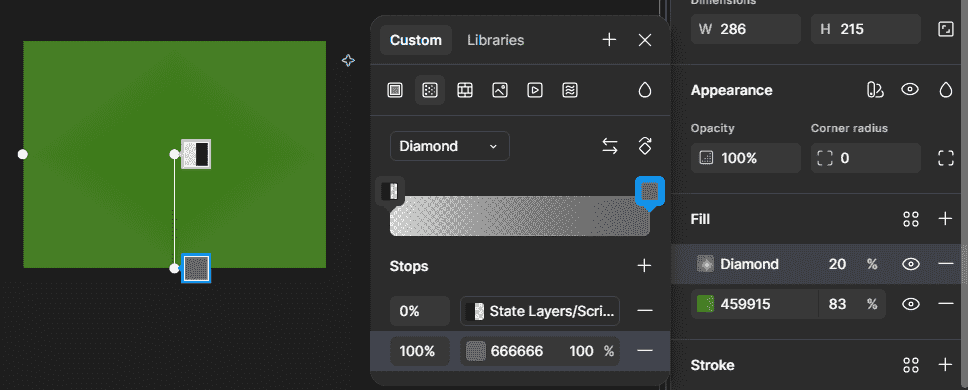
A gradient creates a smooth transition between two or more colors or tints of the same color. Figma supports four types of gradients.
Figma supports four types of gradients
- Linear Gradients: Transition colors along a straight line, allowing for smooth color blending from one point to another.
- Radial Gradients: Radiate colors outward from a central point, creating circular or elliptical color transitions.
- Angular Gradients: Rotate colors around a central point, producing concentric rings of color with customizable angles.
- Diamond Gradients: Diamond gradient typically refers to a gradient style where the colors radiate from the center of the object outward, forming a diamond-shaped pattern.
- Gradient Color Stops: Color stops define where a gradient changes from one color to another. Figma starts a gradient with two color stops, and you can add, remove, and move stops to control the color transition.
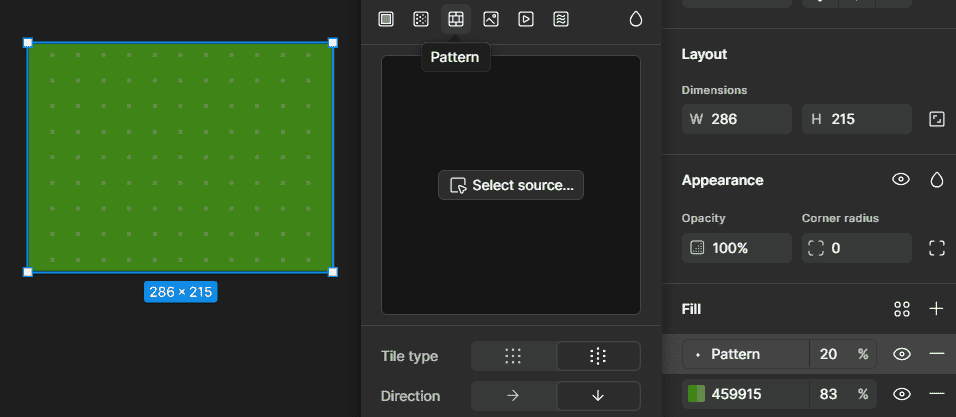
4. Pattern Fill
A pattern fill uses another object from the same Figma file as the source for a repeating pattern. You can adjust properties such as scale, spacing, alignment, and opacity.
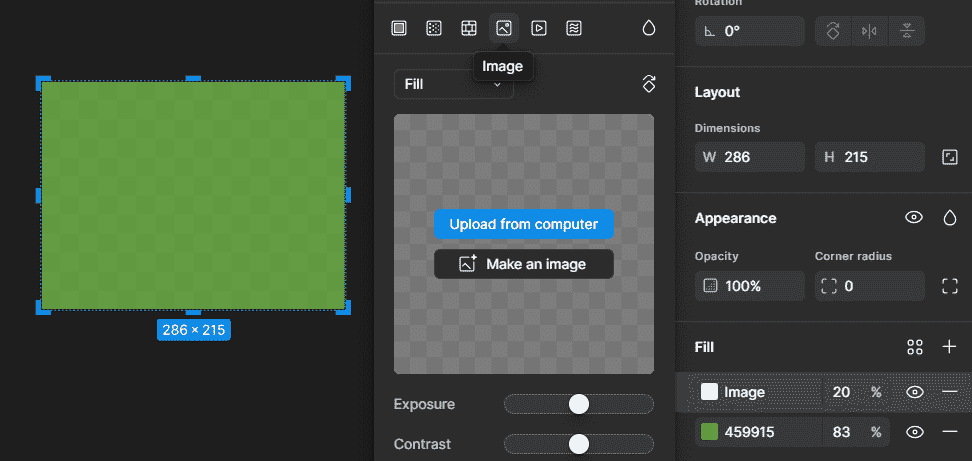
5. Image
Image fill is a versatile feature within the Fill Tool of design software that allows designers to fill shapes, text layers, or other design elements with custom images. Fill shapes or objects with an image from your computer.
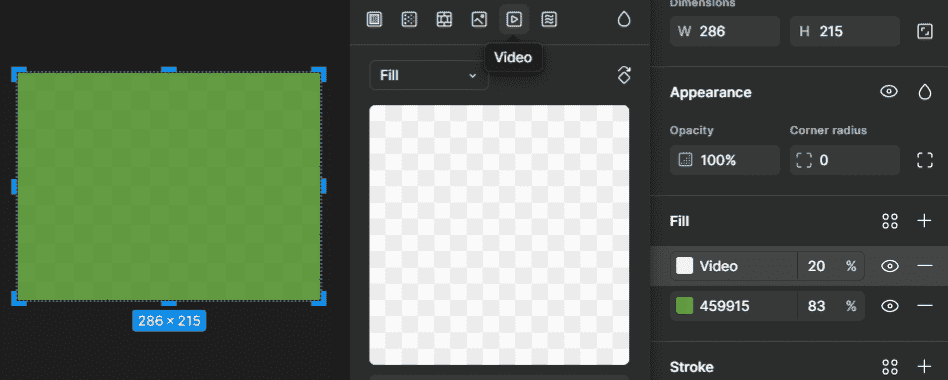
6. Video Fill
A video fill allows you to use a video or animated GIF as the fill of a design layer. Video fills are available on paid plans.
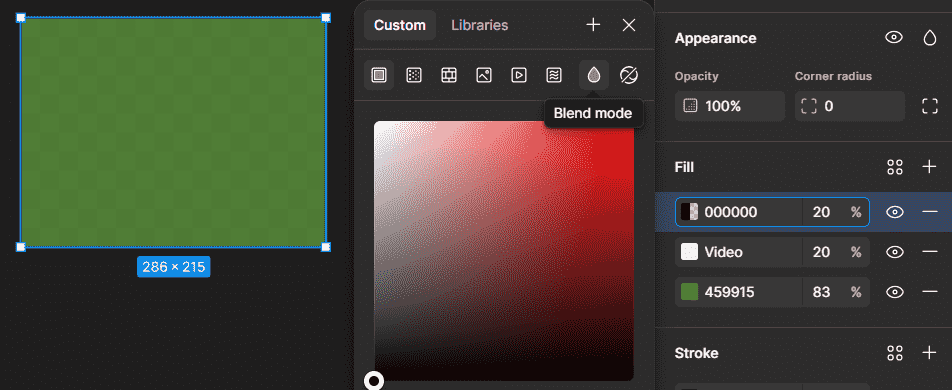
7. Blend Modes
Blend modes in Figma are a powerful feature that allows designers to control how layers interact with each other, enabling the creation of various visual effects. Here's a concise explanation of its functionality.
Fill Opacity
Fill opacity controls how transparent a fill appears. You can adjust the opacity of a fill using the opacity field next to the fill swatch in the right sidebar.
- Transparency Control: Adjust the opacity to make objects more transparent or more opaque.
- Granular Adjustment: Fine-tune the opacity level for precise control over an object's transparency.
- Layer Independence: Adjust the opacity of individual layers independently to create different transparency effects.
Multiple Fills
Figma allows you to add multiple fills to the same object. Each fill can have its own properties, and you can change the order of the fills to control how they appear.
Blend Mode Options
Figma offers a range of blend modes, each suited to different design scenarios. Common blend modes include:
- Normal: The default blend mode, which displays the layer without any blending with the layers beneath it.
- Multiply: Darkens the colors of the layer and blends them with the colors of the layers beneath, resulting in a darker overall appearance.
- Screen: Lightens the colors of the layer and blends them with the colors of the layers beneath, resulting in a lighter overall appearance.
- Overlay: Combines the Multiply and Screen blend modes to enhance contrast and saturation in the image.
- Soft Light: Similar to Overlay, but with a softer effect, resulting in more subtle changes.
- Hard Light: Similar to Overlay, but with a more intense effect, resulting in more pronounced changes.
- Difference: Subtracts the color of the layer from the color of the layers beneath, resulting in inverted colors.
- Exclusion: Similar to Difference, but with less intense color inversion.
