

Merging and splitting cells lets you create more flexible table layouts, such as spanning a title across multiple columns or dividing one cell into smaller sections.
Merge Table Cells
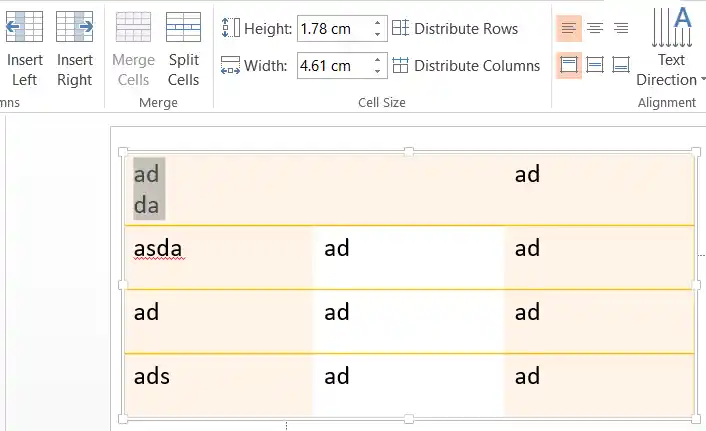
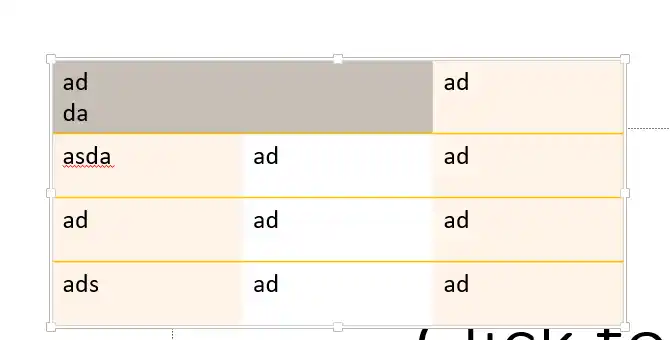
Merging combines two or more adjacent cells into a single larger cell.
Step 1: Select the cells you want to merge. (You can only select cells that are next to each other in the same row or column.)
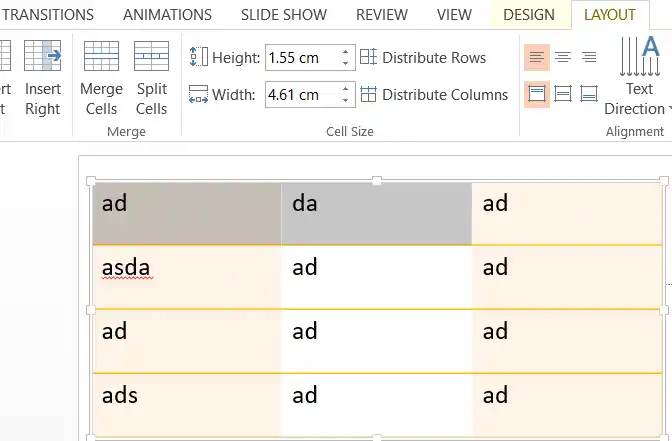
Step 2: Go to the Table Layout tab (appears when the table is selected).
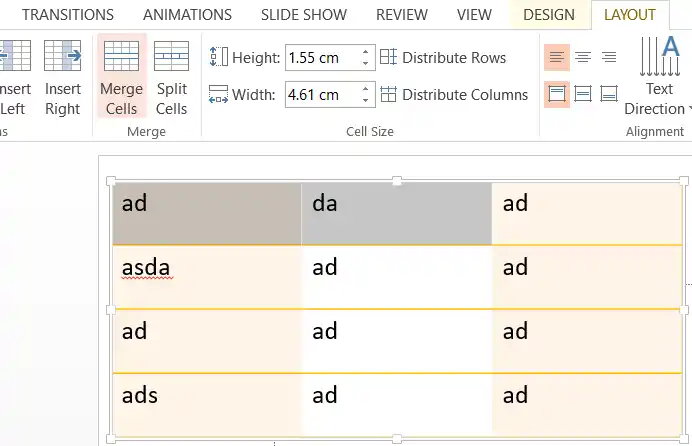
Step 3: In the Merge group, click Merge Cells.
Alternative method: Use the Eraser tool on the Table Design tab to erase the borders between cells. This creates a visual merge effect.
Split Table Cells
Splitting divides one cell into multiple smaller cells.
Step 1: Click the cell you want to split.
Step 2: Go to the Table Layout tab.

Step 3: In the Merge group, click Split Cells.

Step 4: In the dialog box that appears:
- Enter the number of columns (to split vertically).
- Enter the number of rows (to split horizontally).
- Or enter both.
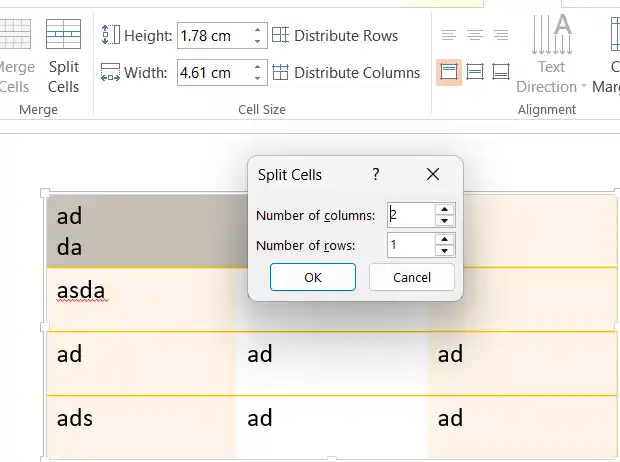
Step 5: Click OK.
Important Notes
- You cannot merge cells that are not next to each other.
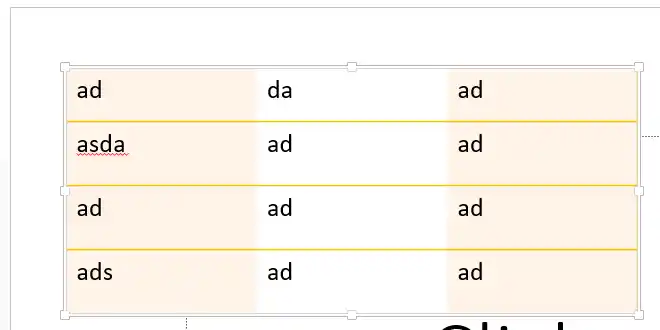
- After splitting, you may need to manually move or add content into the new cells.
- Merged cells are commonly used for table titles or section headers that span multiple columns.
- Splitting is useful when you need more detailed structure inside a single cell.
