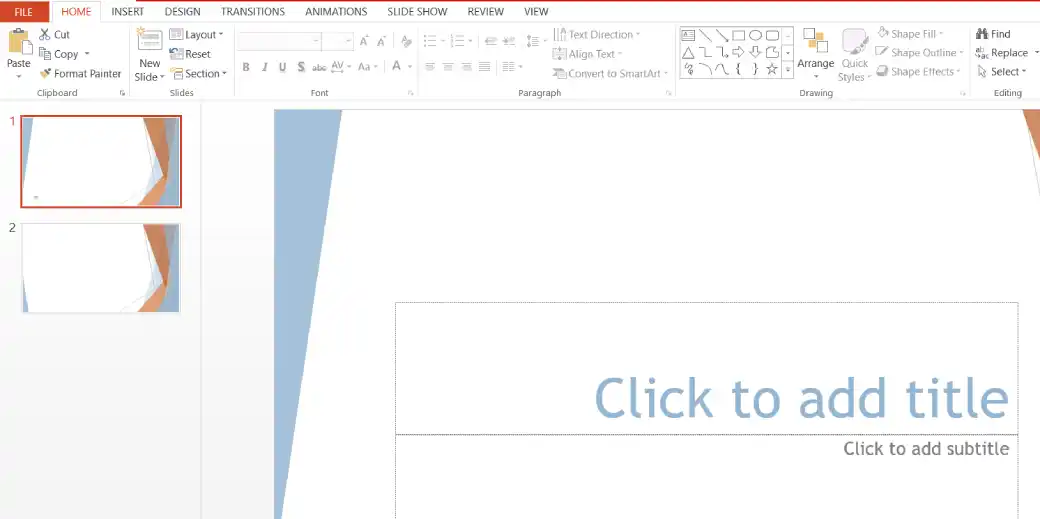
The Slide Master is the most powerful tool in PowerPoint for creating a consistent look across your entire presentation. Any change you make in the Slide Master (such as fonts, colors, logo, or background) is automatically applied to all slides that use that master.
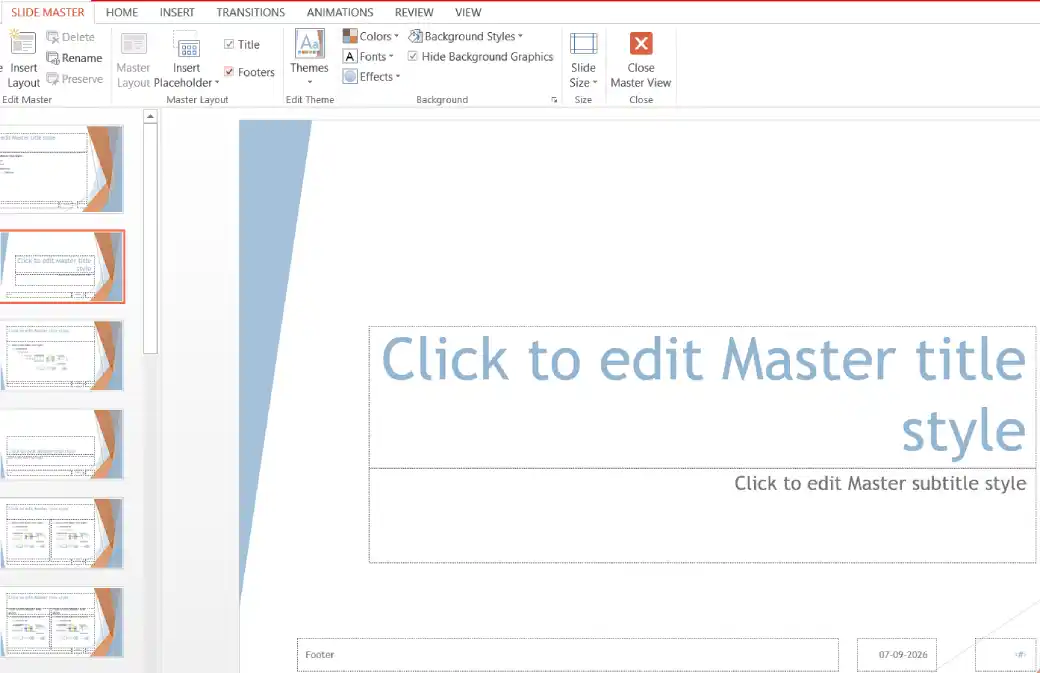
Step 1: Go to the View tab.

Step 2: Click Slide Master.

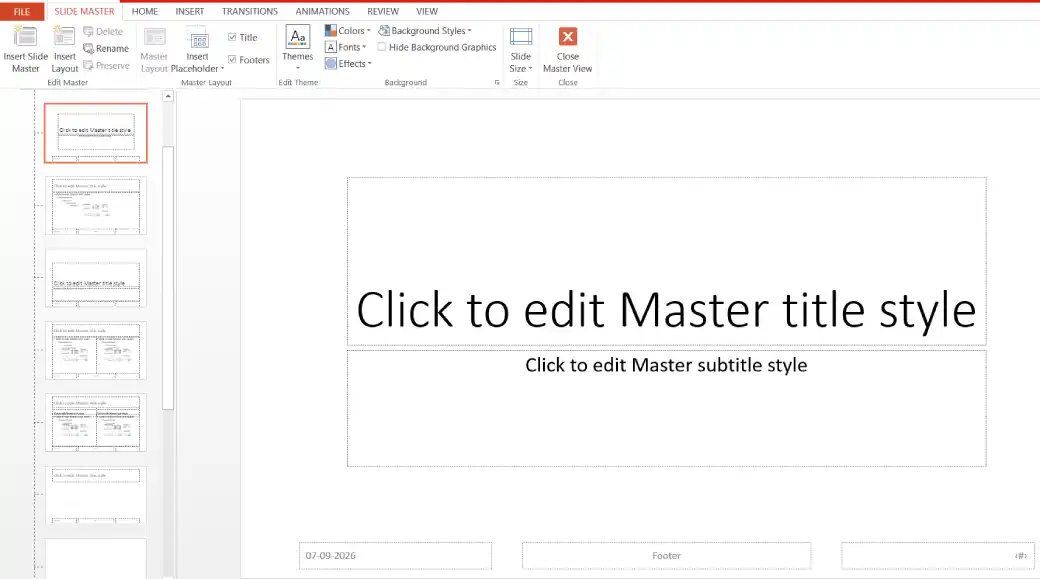
You will see:
- The large Slide Master at the top (controls the overall design).
- Several layouts below it (Title Slide, Title and Content, Two Content, etc.).
Common Things You Can Customize in Slide Master
1. Change Fonts and Colors
- Select the top Slide Master.
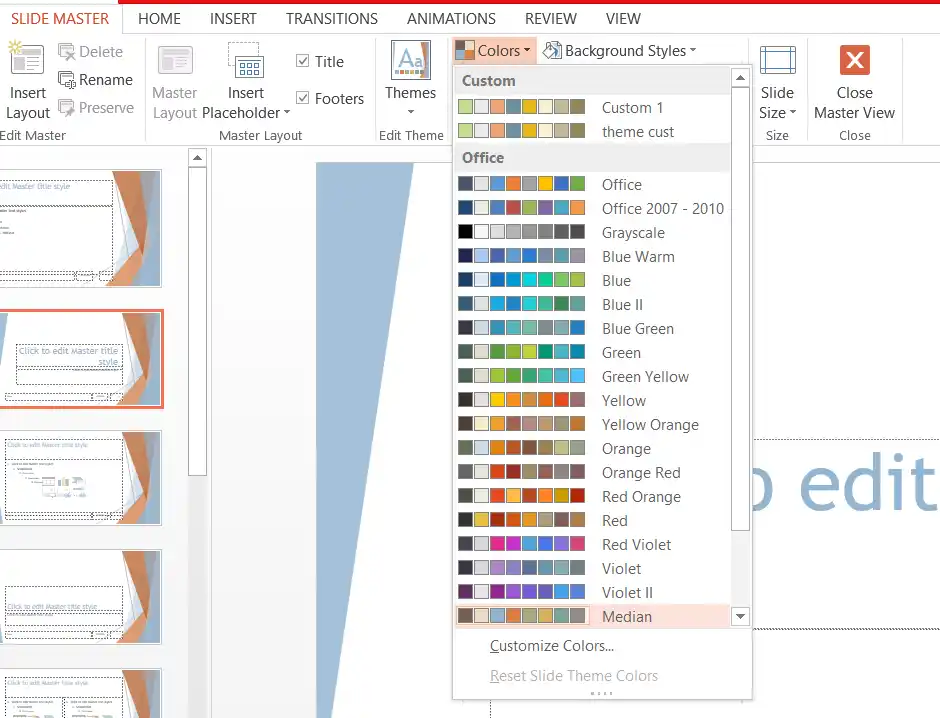
- On the Slide Master tab, use Colors to set consistent colors for the entire presentation.
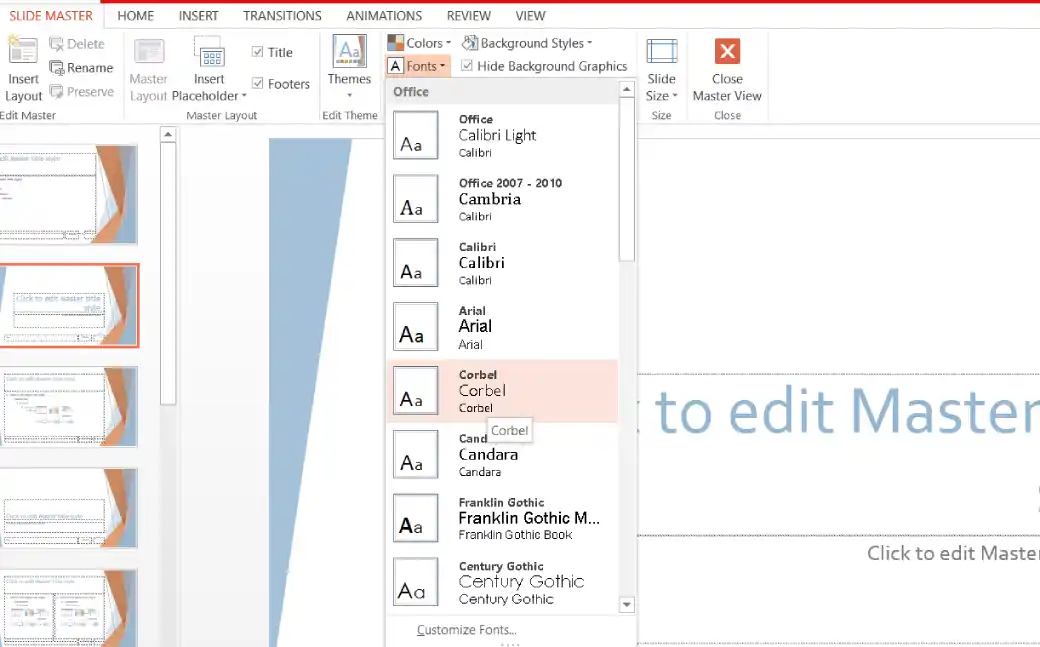
- Use Fonts to apply consistent font styles throughout the presentation.
2. Add a Logo or Footer
- Go to Insert and select Pictures (or Text Box for footers).
- Place the logo or text where you want it to appear on every slide.
- The logo/footer will automatically appear on all slides.

3. Change the Background
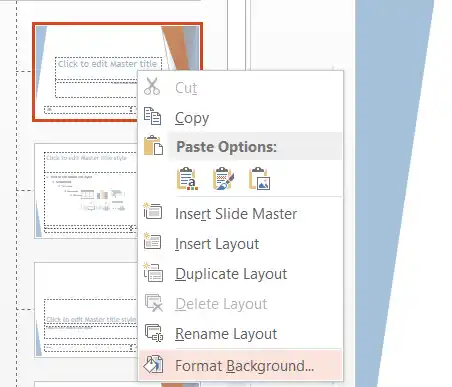
Step 1: Select the top Slide Master (or a specific layout).
Step 2: Right click the slide and select Format Background.
Step 3: Choose a solid color, gradient, or picture.
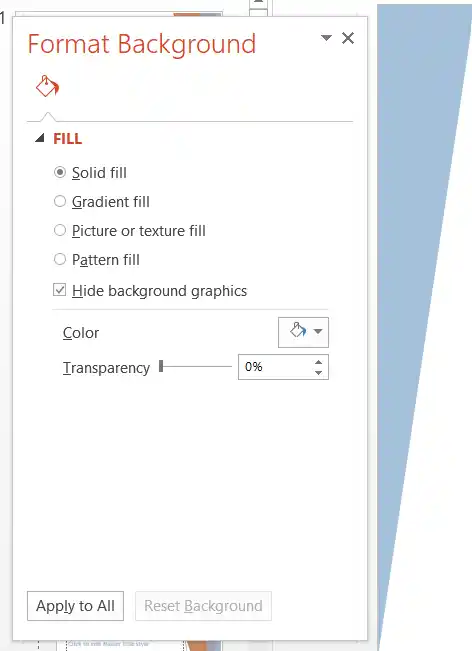
Step 4: Click Apply to All if needed.
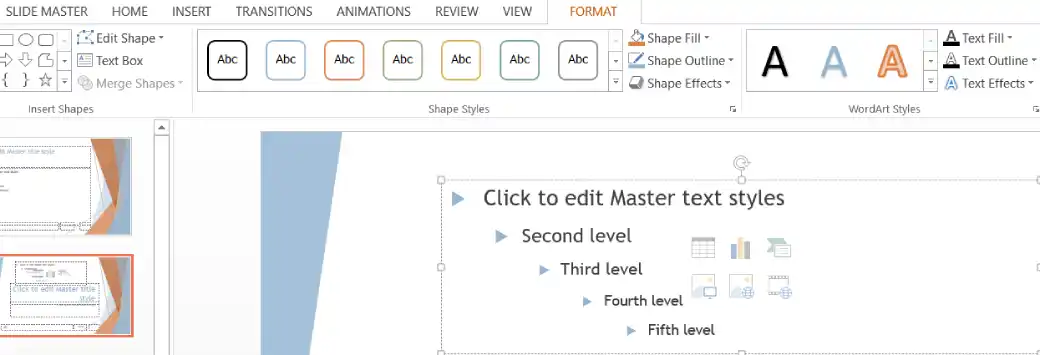
4. Customize Individual Layouts
Step 1: Click any layout under the master (for example, Title and Content).
Step 2: Move, resize, or delete placeholders.
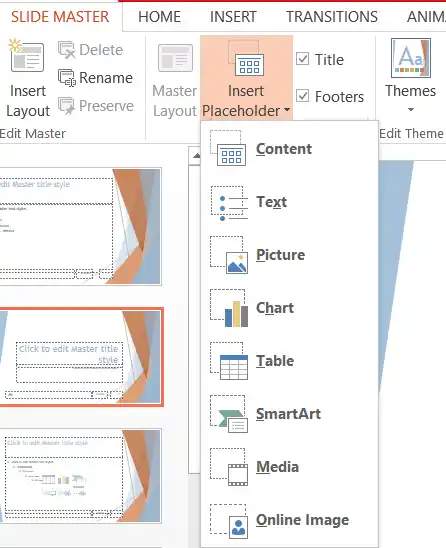
Step 3: Add extra placeholders or design elements specific to that layout.
5. Hide or Show Placeholders
Step 1: Select a layout.
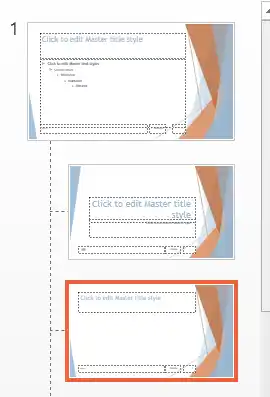
Step 2: On the Slide Master tab, check or uncheck options like Title, Footers and Date.
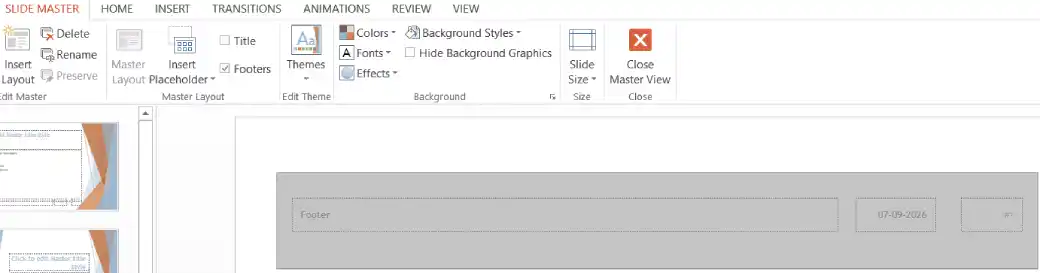
Close Slide Master and Apply Changes
Step 1: On the Slide Master tab, click Close Master View.

Step 2: Return to Normal view. All existing slides and new slides will now follow the updated design.